
Hello lovlies!
Today I am sharing with you an easy and fun tutorial
on coffee stained tags!
Today I am sharing with you an easy and fun tutorial
on coffee stained tags!

 Supplies:
Coffee
Folder
Cookie pan
Imitation Vanilla (optional)
Oven
Scissors
Hole Punch
Ribbon or String
Directions:
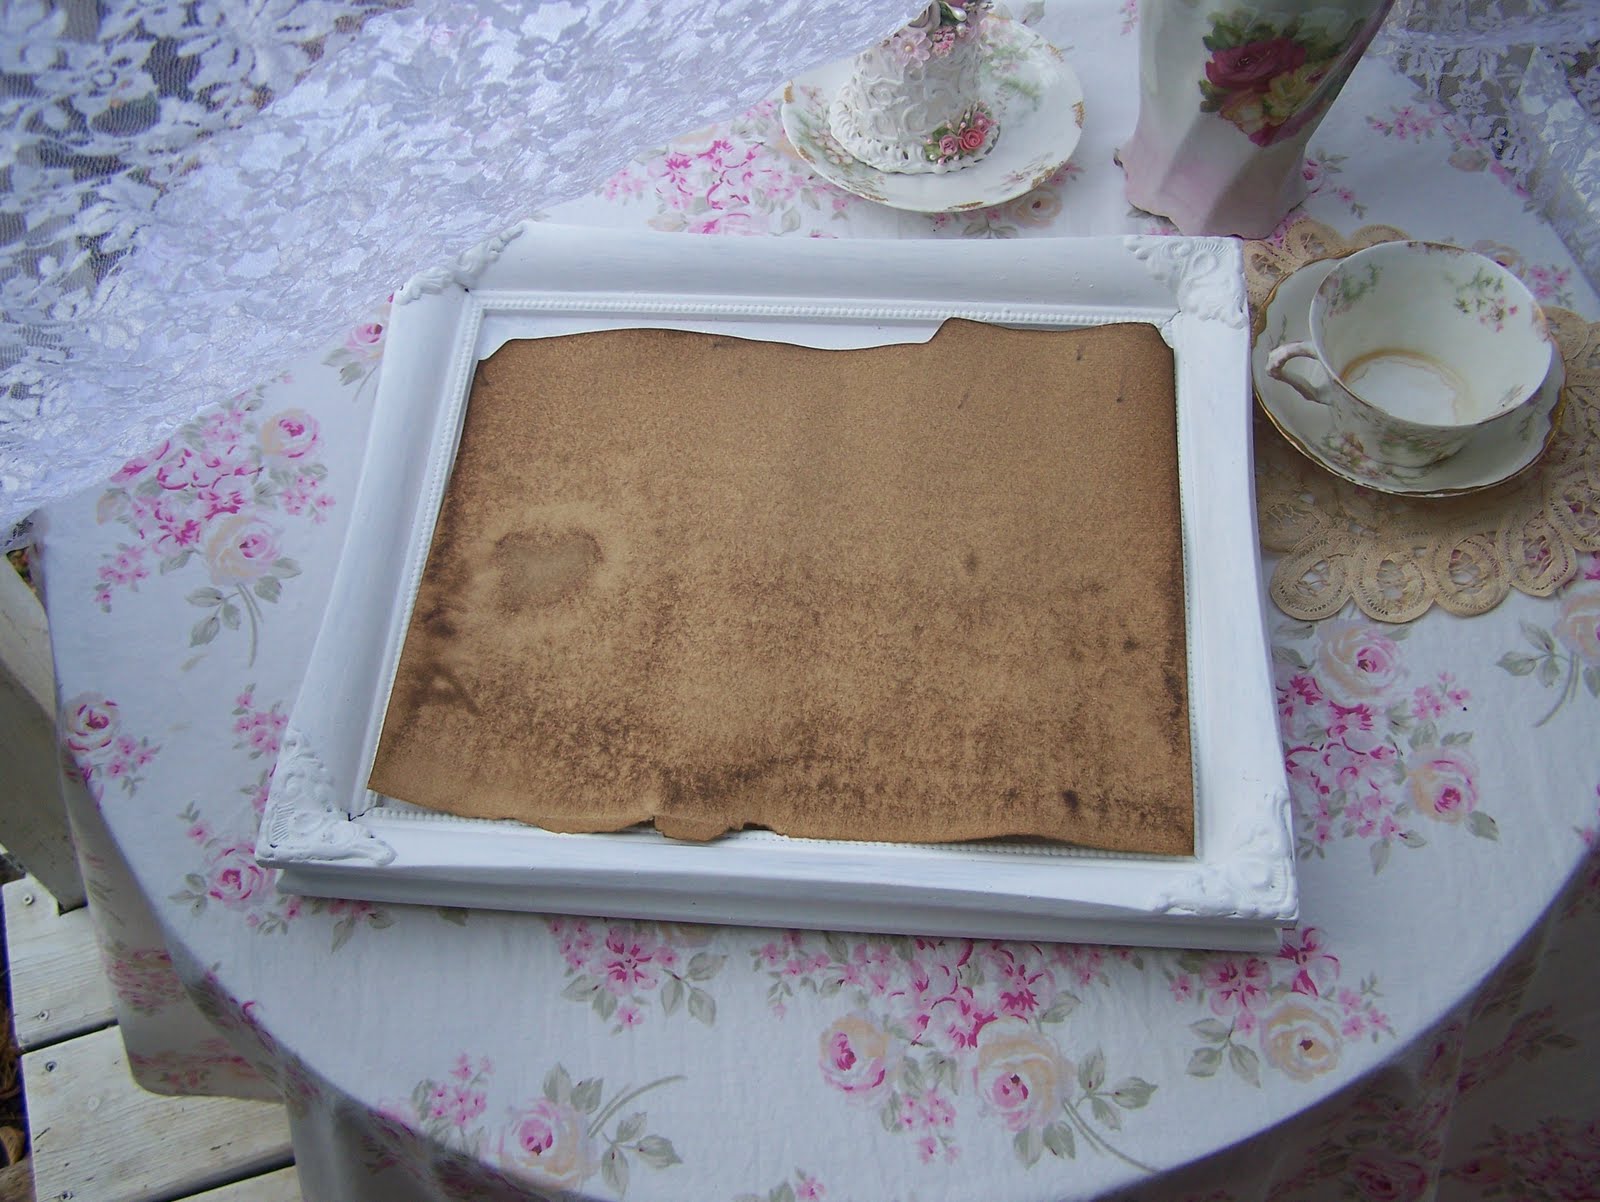
Step 1~ Place folder on pan. Pour a cup full of coffee on folder.
Step 2~ Swirl coffee around on folder until all of the folder is covered.
Step 3~ Add a touch of imitation vanilla. (Optional)
Step 4~Put coffee folder on pan in oven for about 10-15 minutes or until all of the coffee is absorbed and the folder is dry.
Step 5~Take folder off of pan and let cool. Cut into tag shape and add ribbon. Embellish as desired!


So, I believe this is the costume for the day a bit of lace and coffee
together make a darling and unexpected primitive Shabby Chic style tag!
Much more stylish than your ordinary plain white tag.
I have been making these for the last two years to put on my
Shabby Chic at Cadwell's Flea Market Booth tags!

Squishy hugs,
Olivia

Good Morning Olivia Sweetie...
ReplyDeleteWhat a wonderful tutorial and share this beautiful Sunday morning. I can't wait to give this a try. So much cheaper than purchasing the ready made tags, and more scentful. I love it that we can cut them in any shape, not like the bought ones.
Thank you again for sharing. Have a wonderful Sunday afternoon. Country hugs from Phoenix, Sherry
Awesom tutorial Olivia!! Great way to recycle and repurpose!
ReplyDeletePlease join us this Thursday for my "Pink Biscuit Tea Party"
ReplyDelete-in honor of our shabby pink home make over, inspired by you, Olivia and your Romantic Home! Please wear pink and bring your favorite children's book to share with the other Moms. Blessings-Joy
I never thought of using folders ...genius!
ReplyDeletecarol
Great idea! I have tried using pre made tags only for the reinforcement thing to fall off.
ReplyDeleteI will try this when it's a bit cooler to run the oven.
Hugs- Tete
Hi Olivia...I loved your little lesson!! What a great way to have a wonderful sheet to make shapes! Enjoy your week..xo Tami
ReplyDeleteYou are so clever! Thanks for the great tutorial! I'll now be on the lookout for cheap folders...here I've been hunting for paper with just the right weight! Soooo hard to find when we don't have a paper store in our area! Thanks for the great tip!
ReplyDeleteBest Wishes and Blessings,
Amanda
You do an excellent job on making those wreaths.
ReplyDelete